So, you’re ready to dive into the incredible world of 3D printing. You have ideas swirling in your mind—custom gadgets, unique gifts, functional repairs, and artistic models. But one major hurdle often stands in the way: the perceived cost and complexity of the hardware. The journey from a great idea to a physical object in your hands can feel daunting.
But what if you could start that journey today, without breaking the bank? What if there was a way to achieve stunning, high-quality prints with a machine that’s not only affordable but also a fantastic learning experience?
You’re in the right place. This guide is dedicated to helping you master one of the most popular and celebrated machines in the 3D printing community. We'll walk through eleven essential tips, from initial setup to advanced troubleshooting, ensuring you get the absolute most out of your printer. Let’s turn your creative ideas into reality.
 1. Embrace the DIY Spirit: The Foundation of Success
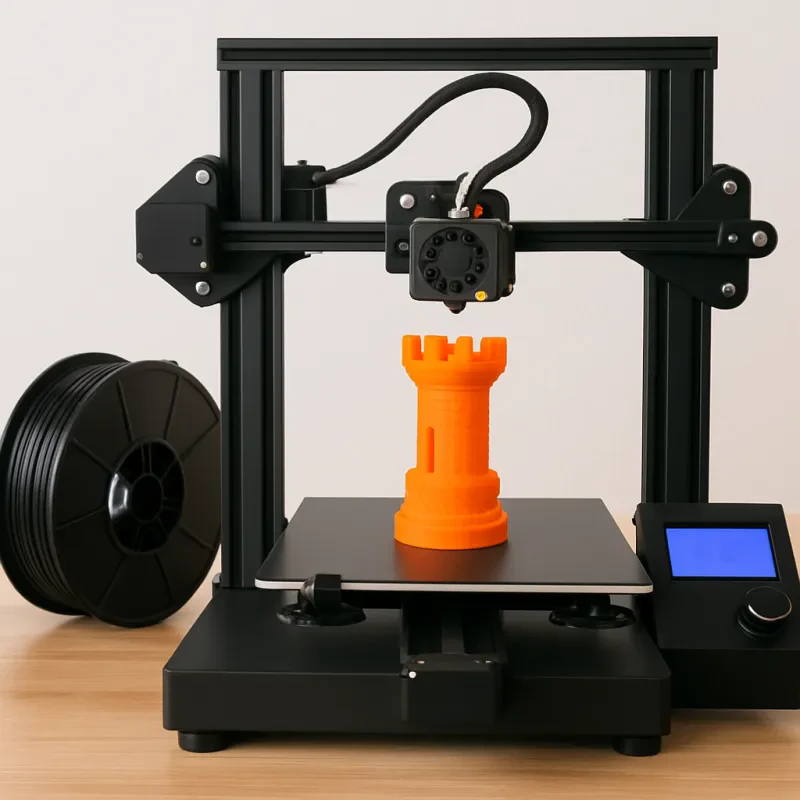
The Creality Ender 3 is a classic DIY 3D printer, and its assembly is your first opportunity to truly understand how it works. Rushing this step is a common mistake that leads to headaches down the road. Instead, embrace the build process as the foundational step to becoming a 3D printing expert.
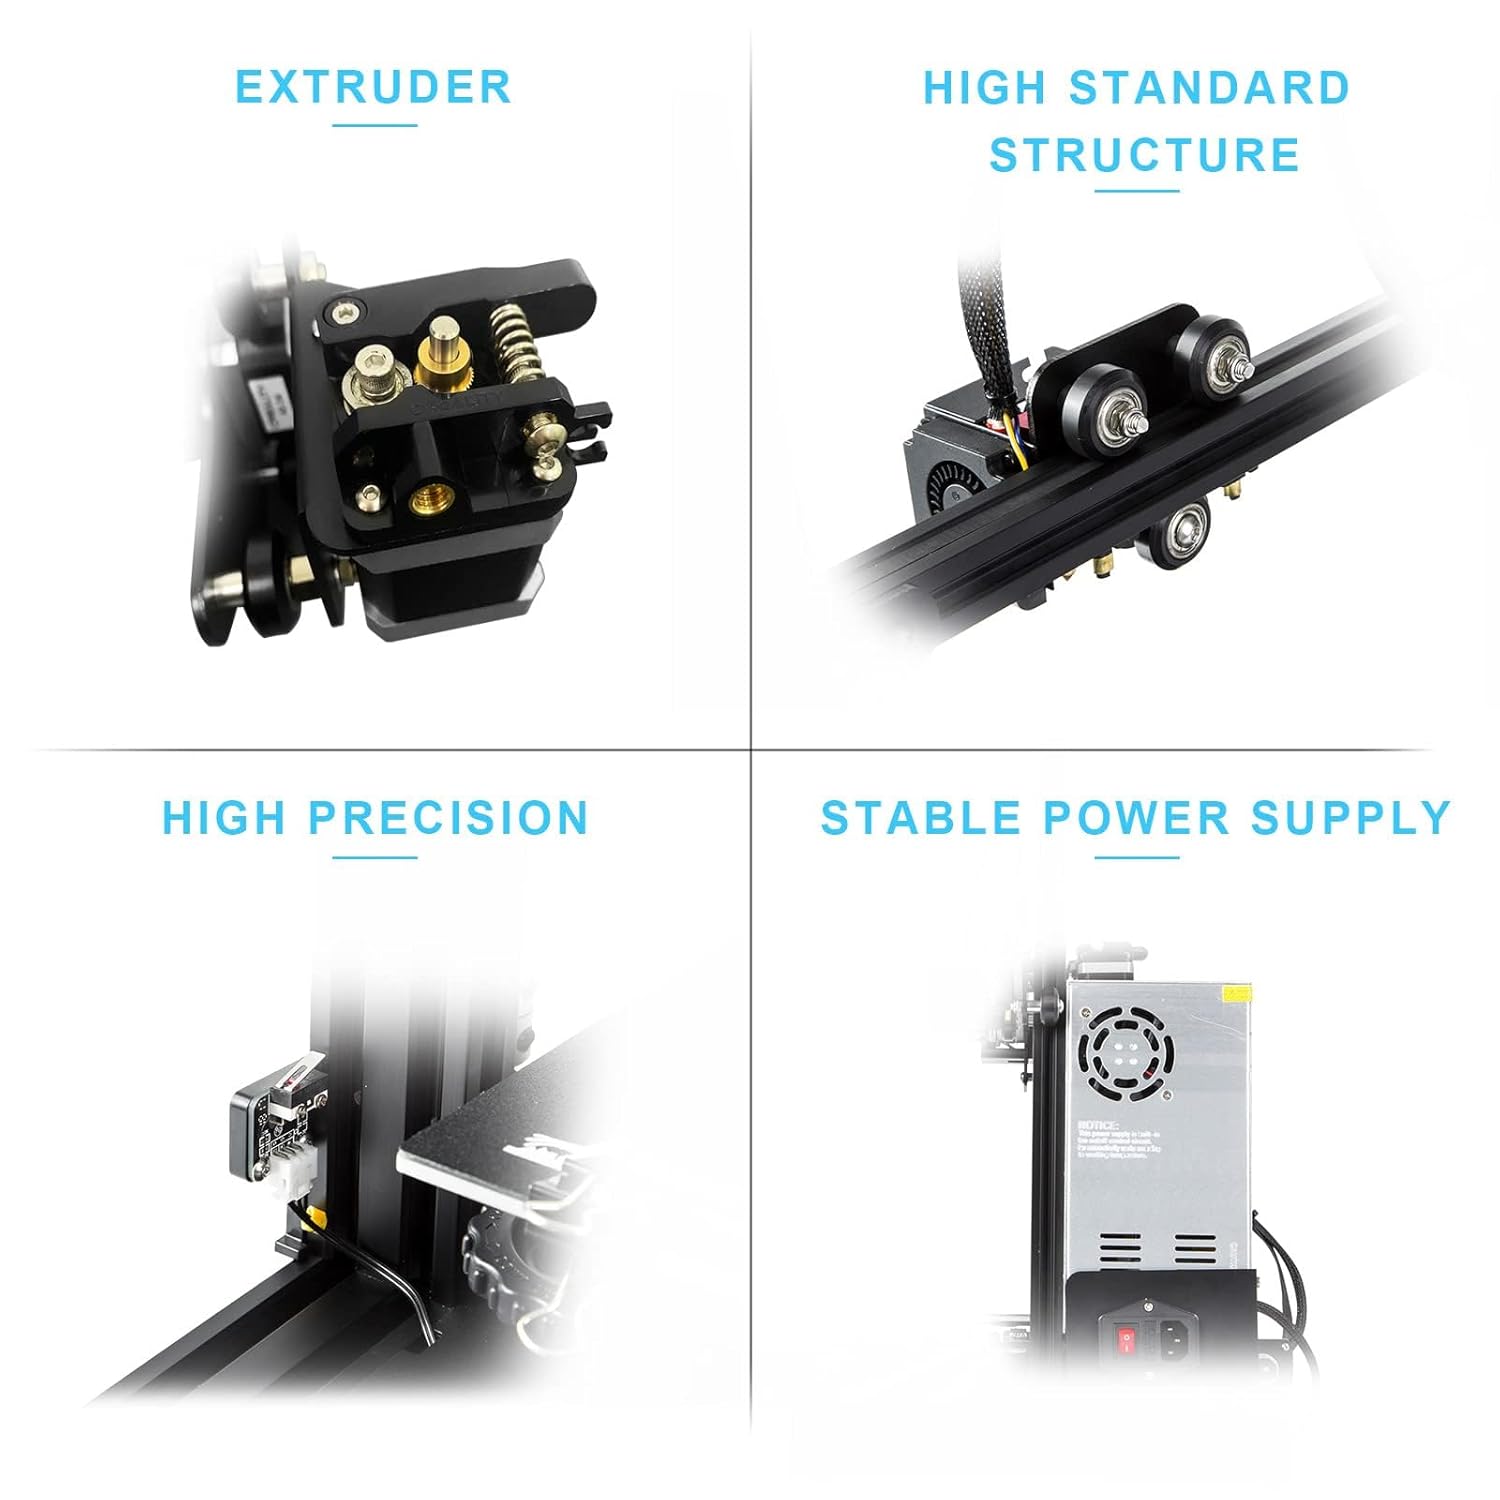
Lay out all your components and follow the instructions meticulously. Pay close attention to the eccentric nuts on the X and Y-axis gantries. These are crucial for ensuring there’s no wobble or shaking in the platform or nozzle—a key challenge for many new users. Properly tightening them ensures the moving parts are snug and secure, which is non-negotiable for print quality. A square and tight frame is the bedrock of every successful print you'll make.
2. Master Your Build Volume
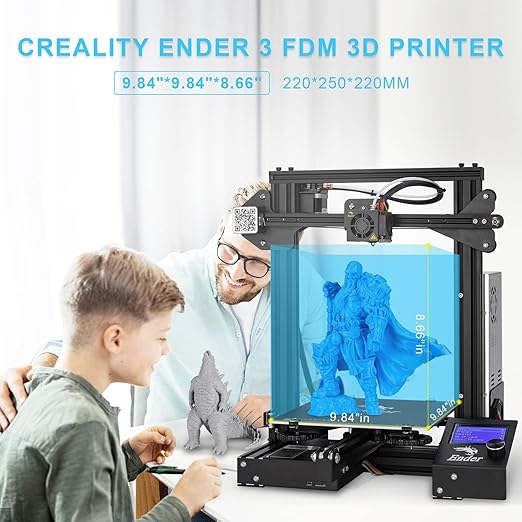
One of the standout features of the Ender 3 is its generous build volume for its price class. You have a sizable canvas of 220 x 220 x 250mm to work with. Before you start downloading files, get a feel for this space.
-
Visualize the Space: Open your slicer software and look at the virtual build plate. It’s a direct representation of your Ender 3’s bed.
-
Plan Your Prints: For large models, orient them diagonally to maximize the available space. For small parts, you can batch them together to print overnight, saving time and energy.
-
Height is Your Friend: Don’t forget the 250mm of vertical (Z-axis) space. This allows you to print tall, intricate objects that many other entry-level printers can't handle.
3. Your Slicer is Your Digital Toolbox
Your 3D printer doesn't understand 3D model files (like .STL or .OBJ) directly. It needs a "slicer" program to translate the model into G-code—a list of specific instructions it can follow. Think of your slicer software (like Creality Slicer, Cura, or PrusaSlicer) as your digital command centre. Mastering a few basic settings will dramatically improve your prints:
-
Layer Height: This determines the vertical resolution of your print. A smaller number (e.g., 0.12mm) creates a smoother, more detailed surface but takes longer. A larger height (e.g., 0.28mm) prints much faster and is great for rough drafts or large functional parts.
-
Infill: This is the internal support structure of your model. An infill of 15-20% is perfect for most decorative models. For functional parts that need to be strong, you might increase it to 50% or more.
-
Print Speed: The default speed is often a good starting point, but slowing it down, especially for the initial layers, can significantly improve adhesion and overall quality.
4. Dialing in for High Precision (Without the High Price Tag)
Problem: You see incredibly detailed models online and assume they must come from machines costing thousands of pounds. The fear is that an affordable, "budget" printer means a budget-looking, low-quality result. This hesitation can stop a great hobby before it even starts.
Agitate: It’s frustrating to have a brilliant idea for a detailed miniature, a complex mechanical part, or a beautiful piece of art, only to feel it’s out of reach. You worry that investing in a lower-cost printer will lead to nothing but stringy, layer-shifted messes that look nothing like the pristine models you hope to create. Your creativity feels limited by your wallet.
Solution: This is precisely the problem the Creality Ender 3 was built to solve. It is globally recognized as the Best-Value-For-Money 3D printer for a reason. It is engineered for high-precision printing, giving hobbyists access to quality once reserved for industrial machines. Its stable frame, reliable power system, and massive community mean you can achieve astonishingly detailed prints. You don’t need to spend a fortune; you just need the right tool that values performance over price.
 5. Conquering the Dreaded Print Warp
Print warping—where the corners of your model lift off the build plate mid-print—is one of the most common issues in 3D printing. This happens when the plastic cools too quickly and contracts, pulling the base of the model inward.
Here’s how to solve it on your Ender 3:
-
Bed Temperature: For materials like PLA, a bed temperature of 50-60°C is a great starting point. For ABS, you’ll need higher temperatures (around 90-110°C).
-
First Layer Adhesion: Your first layer is everything. Ensure your bed is perfectly level and the nozzle is at the correct height (a piece of paper should just barely snag between the nozzle and the bed).
-
Use a Brim or Raft: In your slicer settings, add a "brim"—a single layer of extra material around the base of your model. This increases the surface area touching the bed, holding the corners down.
6. Know Your Materials
The Ender 3 is wonderfully versatile, supporting a range of common filaments. Understanding them is key:
-
PLA (Polylactic Acid): This will be your go-to filament. It’s easy to print, comes in countless colors, and is perfect for beginners.
-
ABS (Acrylonitrile Butadiene Styrene): ABS is stronger and more temperature-resistant. It's great for functional parts that need to be durable but can be trickier to print.
-
TPU (Thermoplastic Polyurethane): This is a flexible, rubber-like filament for printing things like phone cases or soft grips.
Start with PLA. Once you’re confident, branch out to other materials to unlock the full potential of your printer.
7. Proper Filament Care for Pristine Prints
The material you use is just as important as the printer itself. Most 3D printing filaments are hygroscopic, meaning they readily absorb moisture from the air. Wet filament is a primary cause of poor print quality, leading to popping sounds from the nozzle, stringing, and weak, brittle parts.
-
Store it Dry: When not in use, store your filament spools in a sealed plastic bag or airtight container. For best results, toss in a desiccant packet (like the silica gel packets that come with new shoes) to absorb any moisture.
-
Dry it Out: If you suspect your filament has absorbed moisture, you can dry it in a dedicated filament dryer or, with extreme caution, on the lowest setting of a food dehydrator or oven. A little prevention here saves hours of failed prints.
8. The Secret to Easy Model Removal
While print adhesion is crucial, what happens when a print is stuck too well? There's nothing more disheartening than damaging a perfect print while trying to pry it off the bed.
A great trick is to use temperature change to your advantage. Let the heated bed cool down completely to room temperature. As the bed and the plastic model cool, they contract at different rates. Often, this is enough for the model to pop off on its own or with a gentle nudge from a plastic scraper. Patience is your best tool here.
9. A Simple Maintenance Routine for Longevity
Proper printer maintenance is essential for performance and a long lifespan. Like any powerful tool, your Ender 3 will run better with a little care. Here is a simple routine:
-
After Every Print: Wipe down your build surface to remove any residue or fingerprints.
-
Weekly: Check the tension of your belts and the tightness of the eccentric nuts.
-
Monthly: Check all screws and bolts to ensure they remain tight. Clean any dust or filament debris from the lead screw and moving parts.
This simple checklist takes only a few minutes but will prevent most common mechanical issues and ensure your printer runs as reliably as it did on day one.
10. The Pathway to Upgrades
The stock Ender 3 is a fantastic machine, but one of its most beloved features is its near-limitless potential for upgrades. As you grow in the hobby, you can enhance your printer to improve its quality, reliability, and ease of use. Popular first upgrades include:
-
Upgraded Bed Springs: Stiffer springs prevent the bed from losing its level so frequently.
-
All-Metal Extruder: The stock plastic extruder can wear out over time. An affordable metal replacement is more durable and reliable.
-
Auto Bed Leveling (BLTouch): This sensor automatically measures the level of your build plate and compensates for any minor inconsistencies, giving you a perfect first layer every time.
Think of your Ender 3 as a platform. You can keep it stock and get great results, or you can tinker and upgrade it to be a true powerhouse.
11. Leverage the Power of the Community
One of the Ender 3's greatest assets isn't listed on the spec sheet: its community. When you buy an Ender 3, you're joining millions of makers, tinkerers, and creators. Online forums, social media groups, and video platforms are filled with tutorials, upgrades, and troubleshooting guides specifically for this printer.
If you run into a problem, chances are someone has already solved it and shared the solution. If you're looking for an upgrade, there are countless guides to help you. This collective knowledge is an invaluable resource that grows every day.
Your Gateway to Creation Awaits
The Creality Ender 3 earned its title as a "Classic DIY 3D Printer" by proving that incredible results don't need to come with an intimidating price tag. By embracing the build, understanding its capabilities, and using a few simple tricks to solve common problems, you can transform it from a box of parts into a reliable creation station.
You have the ambition and the ideas. You now have the knowledge to master the hardware. The only thing left to do is start your journey.
Ready to start creating? Learn more and get the best price on the "Best-Value-For-Money" 3D printer today.
Click Below to Check the Latest Price on the Creality Ender 3 3D Printer
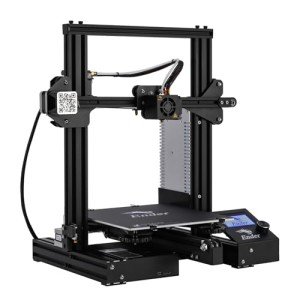
Creality Ender 3 3D Printer with Fiberglass Plate
Experience hassle-free printing and endless creativity with the reliable Creality Ender 3 featuring a sturdy fiberglass plate
Product information
R$951.96
Product Review Score
4.74 out of 5 stars
72 reviewsProduct links
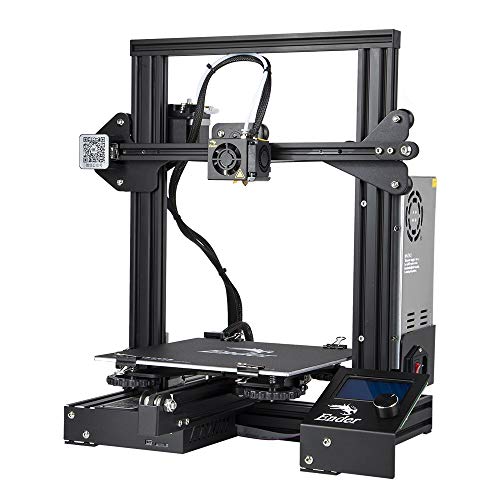
Creality Ender 3 Printer with Resume Function
Experience uninterrupted 3D printing with the Creality Ender 3 Printer featuring the convenient Resume Function
Product information
R$951.96 R$904.04
Product Review Score
4.45 out of 5 stars
130 reviewsProduct links
Creality Ender 3 Pro 3D Printer
Unlock your creativity with this reliable and easy-to-use 3D printer perfect for beginners and pros alike
Product information
R$1,547.75 R$1,117.76
Product Review Score
4.27 out of 5 stars
45 reviewsProduct links

Creality Ender 3 Max Neo Printer - Large Format
3D Printing for Professionals and Hobbyists Alike!
Product information
Product Review Score
4.99 out of 5 stars
57 reviewsProduct links
Affiliate Disclosure: This article contains affiliate links. If you make a purchase through these links, we may earn a commission at no extra cost to you. This helps support our content and allows us to continue bringing you valuable guides and reviews.